How to Create a Season
On MyCommunityHub each service must have a Season. A season will help you stay organised. Ou recommendation is to create seasons on a yearly, seasonal or quarterly basis to help programs and reporting stay organised. This Knowledge Base Article will take you through the steps of adding a season. Once a season has been added, they can be assigned to one or multiple services.
1.Sign in to your MyCommunityHub account.
2.Click Administration to go to the Administration

3.Click View/Edit Seasons (Service Provider Name, Season-Year) to view the Seasons dashboard where system displays all Seasons.

4.Click Add Season in the top right-hand corner. A pop-up window will appear.

5.Enter Season Name, Season Description, Start Date, End Date, Service Provider.
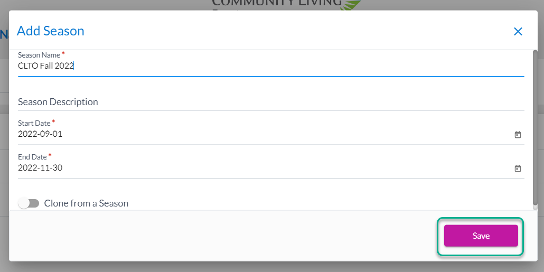
6.Click Save. The Season should be in the list.