How to Pull a Roster Expanded Report
The Roster Expanded report is a detailed listing of all registrants of services, with in depth details of the transactions and registration details. This Knowledge Base Article will take you through the steps of pulling a Roster Expanded Report.
1.Sign in to your MyCommunityHub account.
2.Click Reports to go to the Reports dashboard.

3.In the Registration section, click Roster-Expanded (Registration Overview)

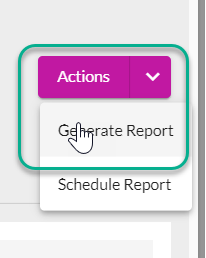
4.Click the purple Actions button in the top right-hand corner. In the dropdown, click Generate Report.
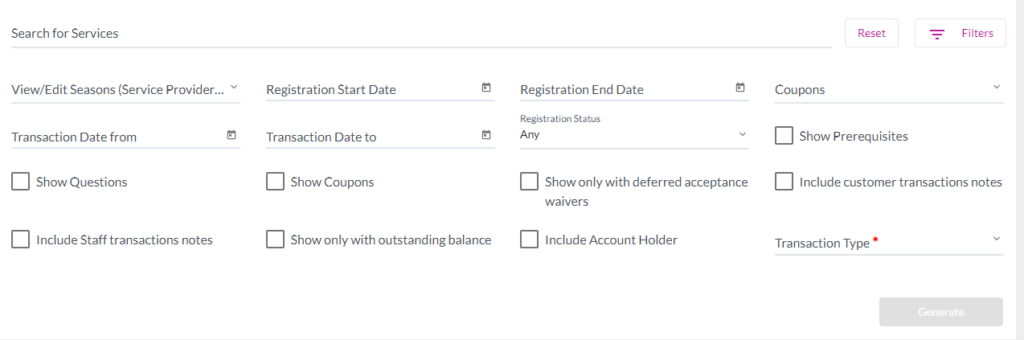
5.You will be at the filters section, which you can use to get the result you want for the Roster Expanded Report.
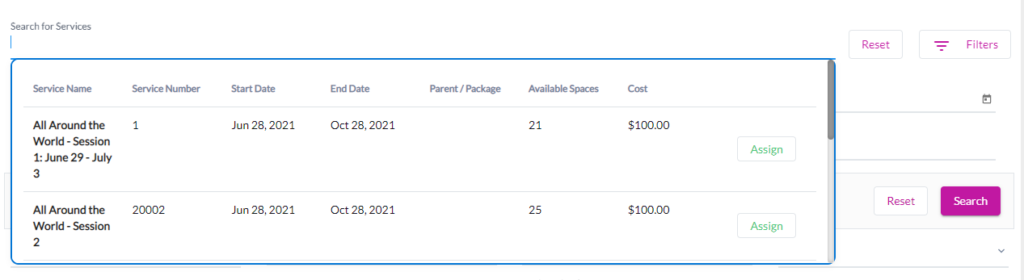
6.To filter by Services, click the Search for Services field, which will display a dropdown of all services. To select a service, click the green Assign button.
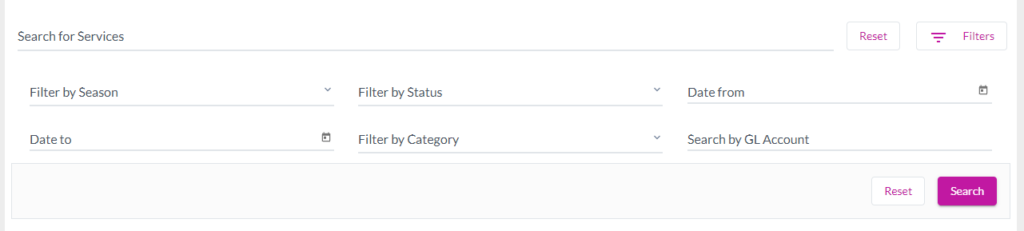
7.You can also filter services by clicking the Filters button. This will display all the filters for services, including season, status, date from, date to, category, and GL account. Date From and Date To are for the starting date of the services. For example, if the service starts on December 1st and run until January 31st and the Date from and Date to are Jan 1st to Jan 31st respectively, the service will not be displayed. That is because the service start date is outside parameters chosen.
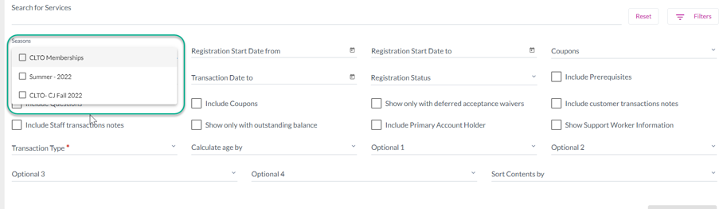
8.To filter by season, click the View/Edit Season field. This will display a dropdown of all seasons. You can select a season by checking the checkbox next to the season name. To remove a season, click the View/Edit Season field again, and in the dropdown uncheck the box of the season you want to remove.
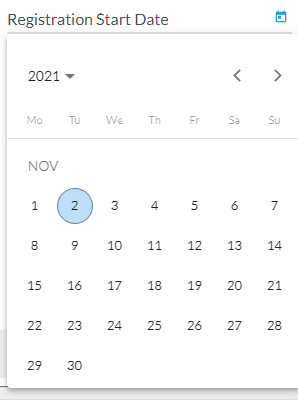
9.To filter by Registration Start Date, you can use the Registration Start Date and Registration End Date fields. Any service that starts after the date chosen in Registration Start Date field will be included in the output. Any service that starts before the date chosen in Registration End Date field will be included in the output. To choose a date, click on the field and a calendar will display. Use the arrows to navigate the calendar and click on a date.
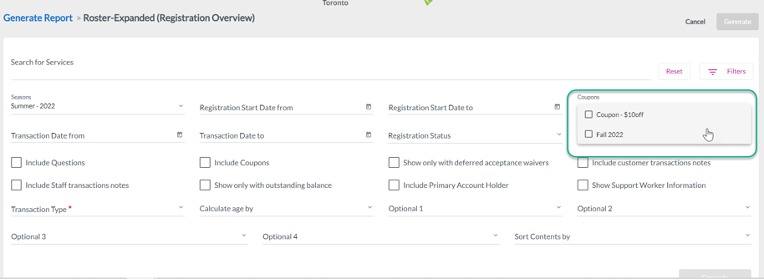
10.To filter by coupon, click the Coupons field. This will display a dropdown of all coupons. You can select a coupon by checking the checkbox next to the coupon name.
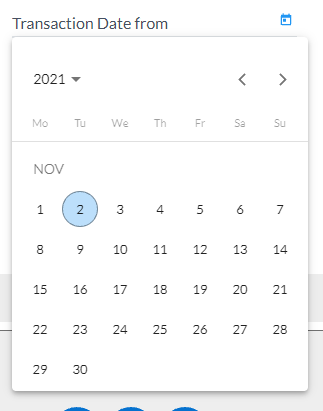
11.To filter by Transaction Date, you can use the Transaction Date from and Transaction Date To fields. The transaction date is the date when the customer registered for or transferred into the service. Any transaction that was completed after the date chosen in the Transaction Date from field will be included in the output. Any transaction that was completed before the date chosen in Transaction Date to field will be included in the output.

12.To choose a date, click on the field and a calendar will display. Use the arrows to navigate the calendar and click on a date.
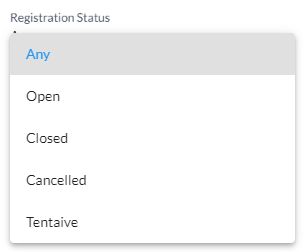
13.To filter by the status of the service, click the Registration Status field. This will display a dropdown of all statuses. You can select a status by clicking on it. Only services that match the status selected will be included in the output. To include all services regardless of the status, click Any in the dropdown.
14.Checking the box for Show Prerequisites will add a column in the report that shows the prerequisite services for the transaction.

15.Checking the box for Show Questions will add a column in the report that shows the custom questions for the services in the transaction.

16.Checking the box for Show Coupons will add a column in the report that shows the coupons used for the services in the transaction.
17.Checking the box for Show only with deferred acceptance waivers will filter the outputs to only show transactions where the registrant has deferred one or more of the waivers for the service. If the registrant accepted all the waivers, the transaction would not be shown in the report.
18.Checking the box for Include customer transaction notes will add a column in the report that shows the customer transaction notes entered for the transaction (if any were entered).
19.Checking the box for Include Staff transaction notes will add a column in the report that shows the staff transaction notes entered for the transaction (if any were entered).

20.Checking the box for Show only with outstanding balance will filter the outputs to only show transactions where the registrant still has a balance due for the service. If the registrant has fully paid the amount for the service, the transaction will not be shown in the report.
21.Checking the box for Include Account Holder will add a column in the report that shows the information of the account holder for the registrant. The account holder may be the registrant themselves or it may be a different person on the account.
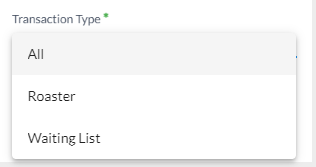
22.To filter by transaction type, click the Transaction Type field. This will display a dropdown of all transaction types. You can select a transaction type by clicking on it. To include all transactions regardless of the status, click All in the dropdown. If you select roster, only the participants who are registered for the service will be included in the report. If you select Waiting List, only the participants who are on the Waitlist for the service will be included in the report.
23.Click Generate.
24.You will be taken back to the History page, where the report you have generated will be in the list. Click the PDF or Excel button to choose what format you’d like the output of the report to be. The report will now be generated.
