How to Add New Attachments/Documents
On MyCommunityHub you have the option to add images and files to your programs and services. This Knowledge Base Article will take you through the steps of adding an Image or a File. Once Images and Files have been added, they can be assigned to one or multiple services.
1. Sign in to your MyCommunityHub account.
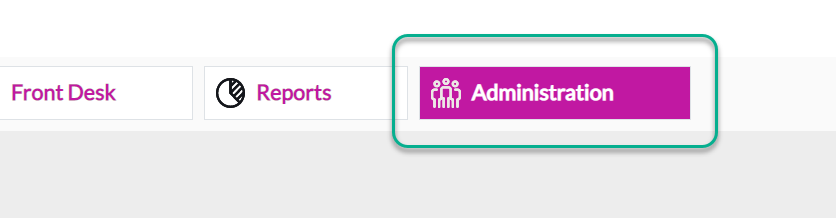
2. Click Administration to go to the Administration dashboard.
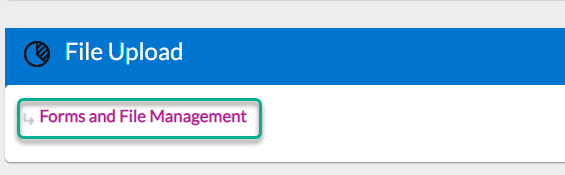
3. Click File and Form Management to view the Files and Forms dashboard where system displays all Files and Forms.
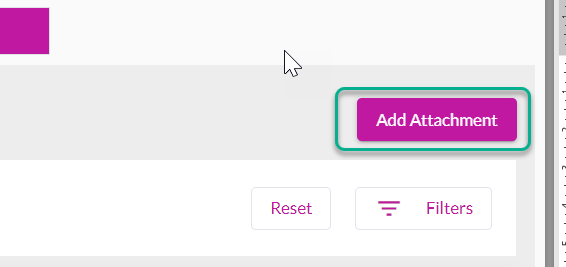
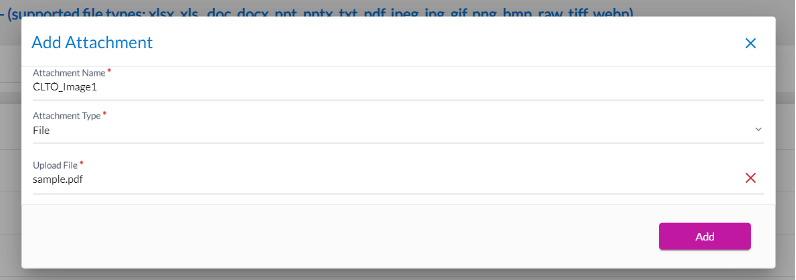
4. Click Add Attachment, a pop-up window will appear with blank fields for document information.
5. Enter the Attachment Name and select the Attachment Type from the drop-down options.
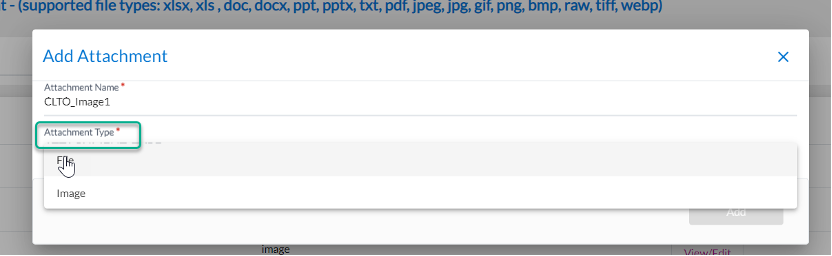
6. If you select File, there will be an Upload File field. Click Upload File and upload a document.
7. If you select Image, there will be an Upload Image field. Click Upload Image and upload an image.
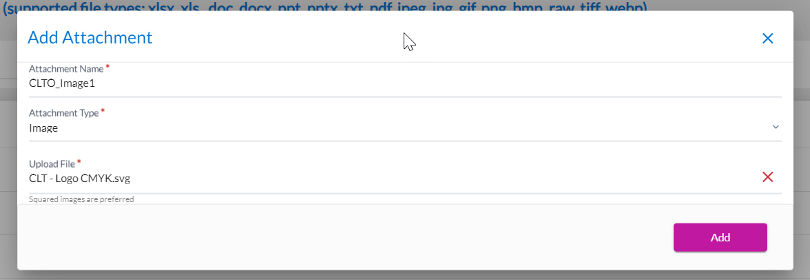
Please note the supported file types are: Xlsx, Xls, Doc, Docx, ppt, pptx, txt, pdf, JPEG, JPG, GIF, PNG, BMP, RAW, TIFF.
8. Click Add, the File or Image should now be in the list of Files and Images.