How to Create a Waiver
On MyCommunityHub you have the option to add Waivers to your programs and services. This Knowledge Base Article will take you through the steps of adding a Waiver. The waiver becomes part of the registration process and may be accepted or deferred if the waiver is declined the registration will not be able to be completed. Once a Waiver has been added, it can be assigned to one or multiple services.
1.Sign in to your MyCommunityHub account.
2.Click Administration to go to the Administration dashboard.

3.Click Manage Waivers to view the Waivers dashboard where system displays all Waivers.

4.Click Add Waiver in the top right-hand corner. A pop-up window will appear.

5.Enter Waiver Name and description.
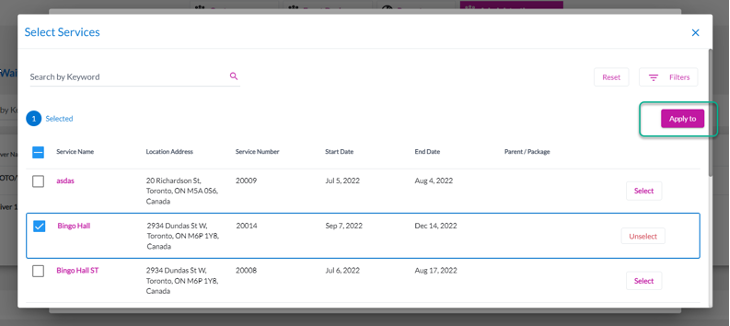
6.Once you’ve selected the Service Provider an Apply to field will popup. Select an option. If you select None, the Waiver will be saved but will not be applied or attached to any service. If you select Services, you will be able to choose a service the Waiver can be applied or attached to.
7.Click Type of Waiver and select an option from the drop-down menu (file, form, and online).

8.If you choose File, you should be able to select from a list of attachments already uploaded or upload a file from your computer by clicking Add New Attachment.

If you choose Form, the system will display a text box where you can type in a waiver.

If you choose Online, the system will display a text field where you can enter a link.
9.The Add button should update from grey to purple. Click Add, and the Waiver should now be in the list of waivers.
