How to Create a Payment Plan
On MyCommunityHub you have the option to create payment plans. This gives your community members the option to pay for services in rates. You may determine the frequency, intervals, and number of payments. You may also determine if the payment should eb fixed or be a percentage. This Knowledge Base Article will take you through the steps of adding a Payment Plan. Once a Payment Plan is created it may be assigned to one or many services.
1.Sign in to your MyCommunityHub account.
2.Click Administration to go to the Administration dashboard.

3.In the Financial section, click Payment Plans to view the Waivers dashboard where system displays all Waivers.

4.Click Add Payment Plans in the top right-hand corner.

5.You will be taken to the Payments Plan page. Enter Payment Plan Name, Description of Payment Plan, Payment Plan Type (Fixed or Percentage), Initial Payment, Number of Payments, Frequency of Payment Plan (Weekly, Monthly).
- Intervals are the number of days/weeks/months before a payment is due. For example, if you select a daily payment plan with 3-day intervals, payments will be due every third
- Initial Payment Date is the first payment of the payment plan (after the initial registration)”.
- Number of Payments is number of payments to be made (after the initial registration).
- Frequency of Payment Plan is how often the payment plan due dates occur. For example, if you select a Weekly frequency with an interval of 2, payments will be due every second week.
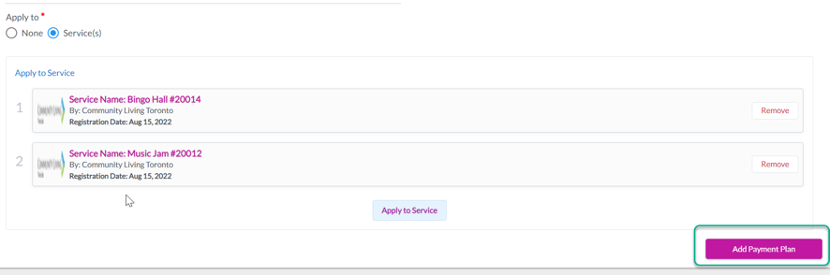
6.Once you’ve entered the required information an Apply to field will popup. Select an option. If you select None, the Payment Plan will be saved but will not be applied or attached to any service.

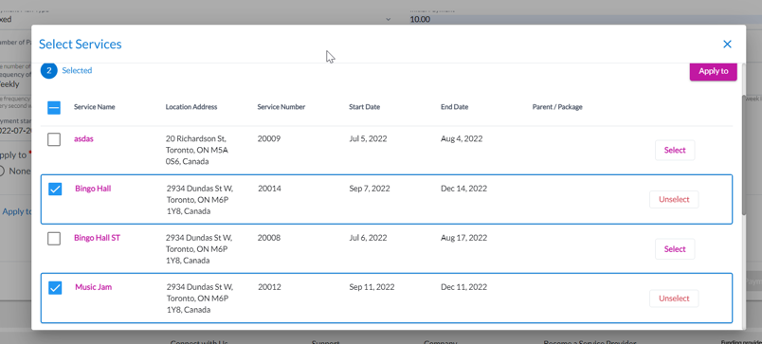
7.If you select Services, you will be able to choose a service or season the Payment Plan can be applied or attached to.
8.The Add button should update from grey to purple. Click Add, and the Payment Plan should now be in the list of Payment Plans.