How to Create a Service
This article will walk you through how to add/create a new program/service. Please note that Section 1 to 4 are mandatory and sections 5 to 8 are not. However, you must click through each section until the purple next button turns into “Create Service: in order for your service to be created/saved.
1. Sign in to your MyCommunityHub account.
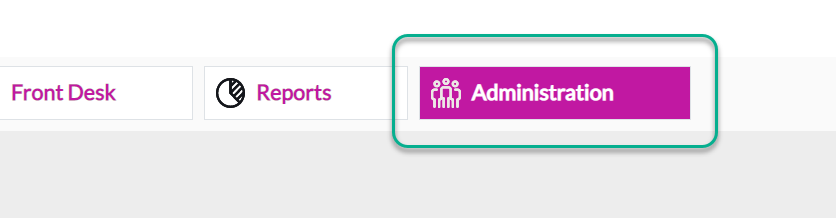
2. Click Administration to go to the Administration dashboard.
3. Click Setup/Modify Service to view the Services dashboard where system displays all Services.

4. Click Add New in the top right-hand corner. A drop-down menu will appear. (Add Service, Add Package, Add Parent Activity)
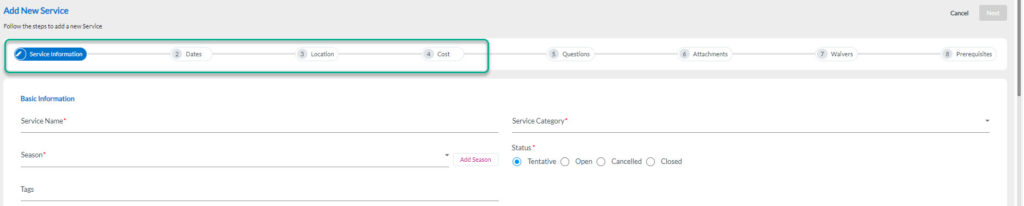
5. Click Add Service. You should be at the Add New Service Page in the first section (Service Information).

6. Enter all service information in the fields below. Note there are 8 sections in this process. Sections 1 to 4 (Service Information, Dates, Location and Cost) sections are mandatory sections that need to be filled out.
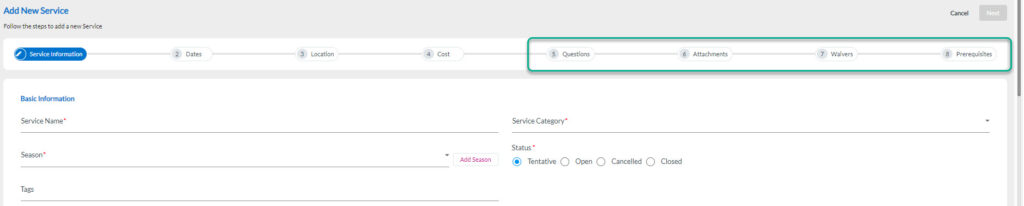
7. Sections 5 to 8 (Questions, Attachments, Waivers and Prerequisites) are optional.
8. Within each section there are required and optional fields. Required fields are marked by a red asterisk (*).

9. In the Service Information section fill out all mandatory fields to proceed to the next section, optional fields may be filled out as necessary.
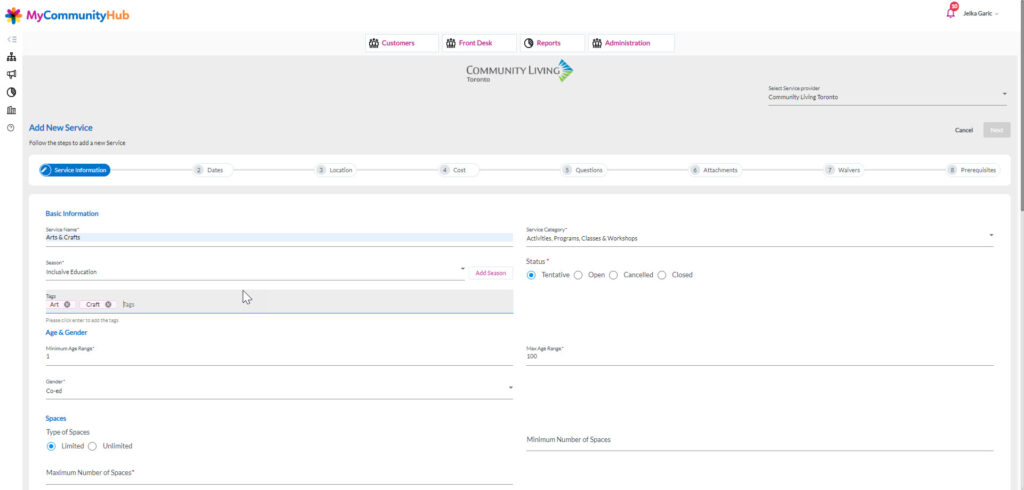
10. Once all required fields have been entered, the next button will turn purple. Click Next.
11. You will be taken to the next section – Dates.
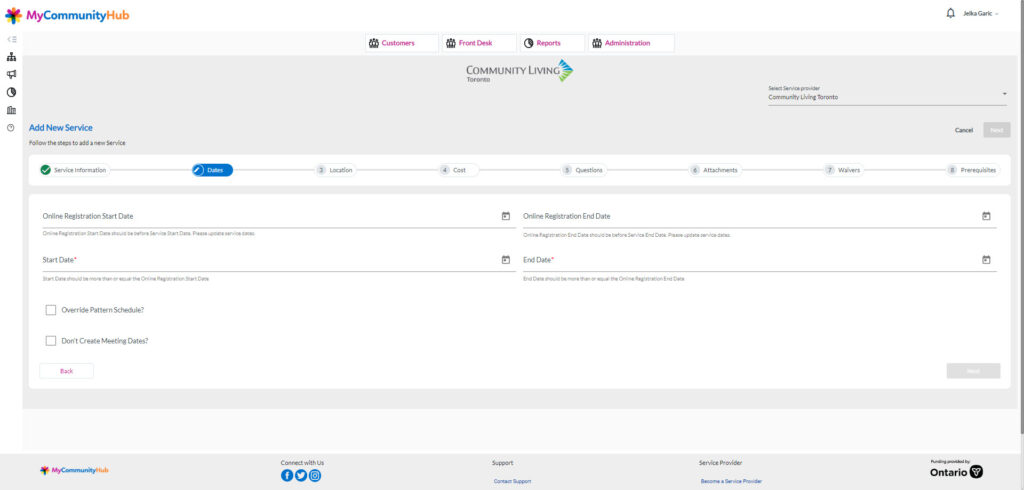
12. Fill out all the information. For more details on how to add a location, see our Knowledge Base Article “How to add Registration and Program Dates”.
13. Once all required fields have been entered, the next button will turn purple. Click Next.
14. You will be taken to the next section – Location. Click on Add Location.
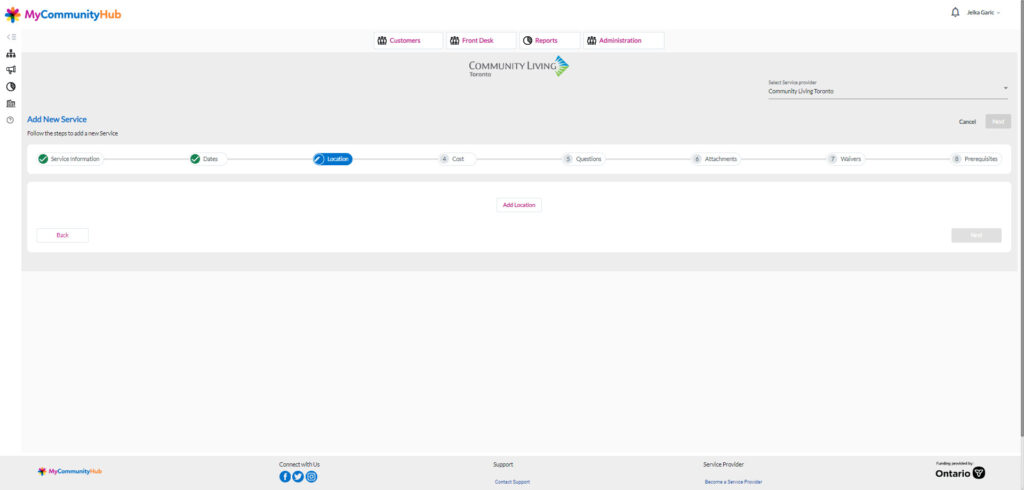
15. Fill out all the information. For more details on how to add a location, see our Knowledge Base Article “How to Create and Edit Locations”.
16. Once all required fields have been entered, the next button will turn purple. Click Next.
17. You will be taken to the next section – Cost.
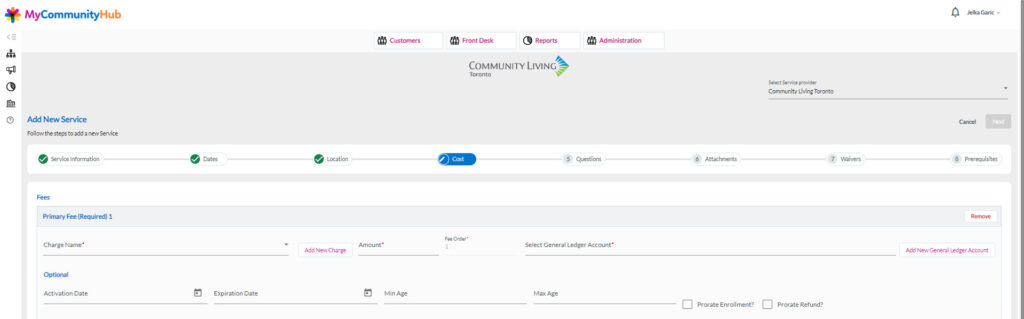
18. Fill out all the mandatory fields.
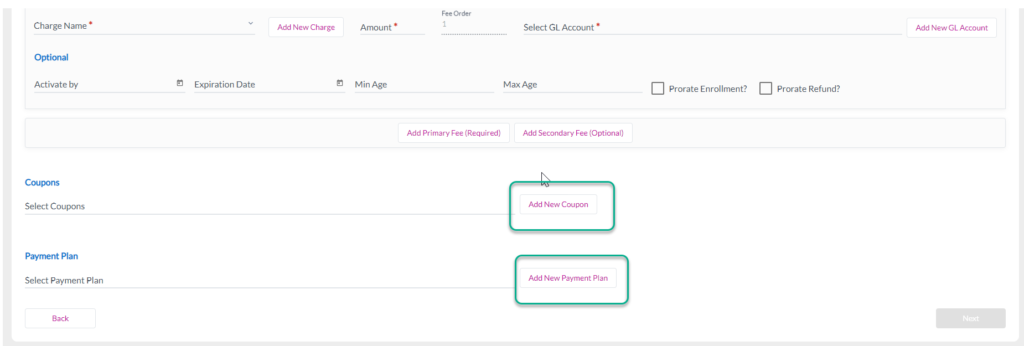
19. You have the option to add a secondary fee, if needed. Click the Add Secondary Fee (Optional) button under the Primary Fee section.

20. You also have the option to add a Coupon or Payment Plan to the service. Click on Add New Coupon in the Coupons section or Add New Payment Plan in the Payment Plan section. For more details on how to add a Coupon, see our Knowledge Base Article “How to Create and Edit a Coupon”. For more details on how to add a Payment Plan, see our Knowledge Base Article “How to Create and Edit a Payment Plan”.
Note: the service must have a fee associated to it to add a Coupon or a Payment Plan.
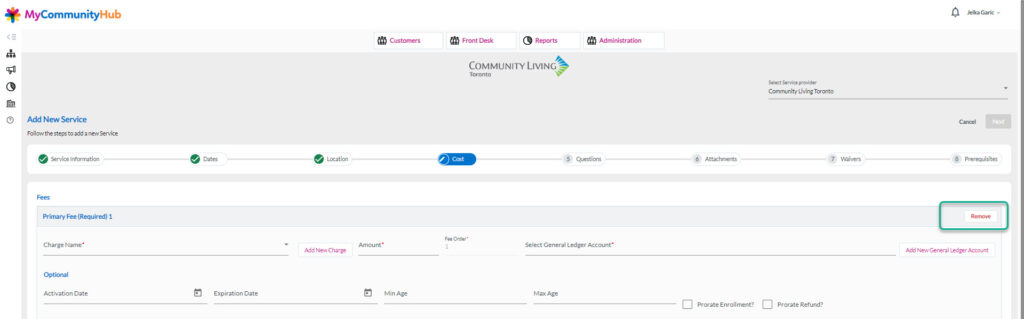
21. If your program does not have a cost associated to it click the Remove button in the top right corner.
22. Once all required fields have been entered, the next button will turn purple. Click Next.
23.You will be taken to the next section – Questions.
24.If you wish to add Questions to your service, click on Select Questions and select a question from the drop-down menu. For more details on how to add questions, see our Knowledge Base Article “How to Create and Edit Questions”.

25. The Next button will be purple. Click Next.
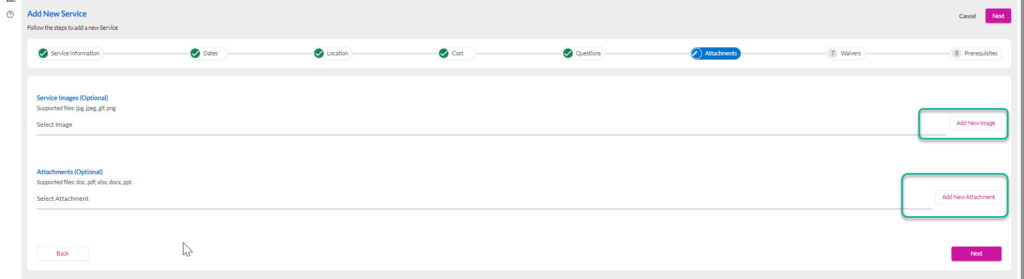
26. You will be taken to the next section – Attachments.
27. If you wish to add Attachments to your service, click on Add New Image or Add New Attachment. For more details on how to add a new image or a new attachment, see our Knowledge Base Article “How to Add and Edit a File or Image”.
28. The Next button will be purple. Click Next.
29. You will be taken to the next section – Waivers.

30. If you wish to add Waivers to your service, click on Select Waivers and select a waiver from the drop-down menu. For more details on how to add waivers, see our Knowledge Base Article “How to Create and Edit Waivers”.
31. The Next button will be purple. Click Next.
32. You will be taken to the last section – Prerequisites.
33. If you wish to add prerequisite services to your service, click on Search for Services and select a waiver from the drop-down menu. Selecting a service as a prerequisite means that the service you are creating will not be available to those who have not done or signed up for the selected prerequisite.
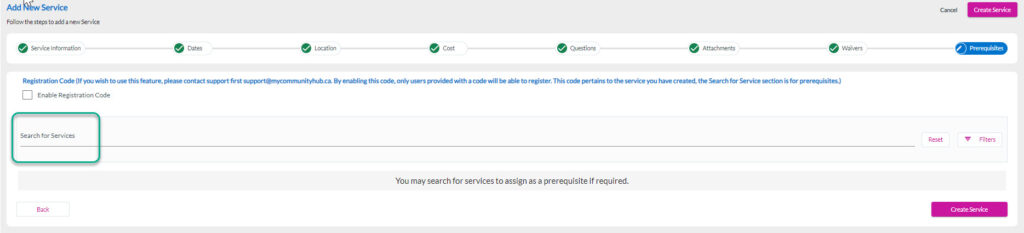
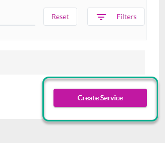
34. Once you are satisfied with the information entered, click Create Service. The service will be created and will show up in the Services dashboard.